- Gestor de paradas
- Introducción
- Cargar paradas
- Salvar paradas
- Salvar ruta
- Centrar sobre parada
- Fijar velocidades
- Tolerancia
- Ordenar paradas
- Volver al origen
- Obtener el coste de ruta
- Habilitar y deshabilitar paradas
- Alterar el orden de las paradas
- Eliminar una parada de la ruta
- Resumen de utilidades del "Gestor de paradas"
Gestor de paradas
Introducción
To access the stops manager first ensure that a network topology is loaded and then select Network|Manage stops from the menu bar.
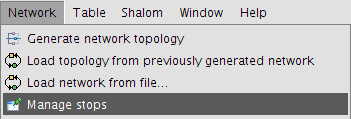
The Manage Stops option on the Network menu
This opens a window where the following options are available:
- Load stops: Load a points layer to use as stops along a route.
- Save stops: Save the route's stops.
- Save route: Save the route that has been generated.
- Centre on flag: Centres the view on the flag representing the selected stop.
- Set speeds: Set speeds for the different types of network segments.
- Cost field: Shows the cost of traversing the route. The cost values depend on the units selected when generating the topology.
- Enable and disable: Determine which stops to use for calculating the route.
- Altering the order of the stops: This modifies the original route.
- Tolerance: The maximum distance from a node or arc for placement of a stop (in map units).
- Order stops: Reorder the stops to produce a route with a lower cost.
- Return to origin: Calculate a route back to the point of origin.
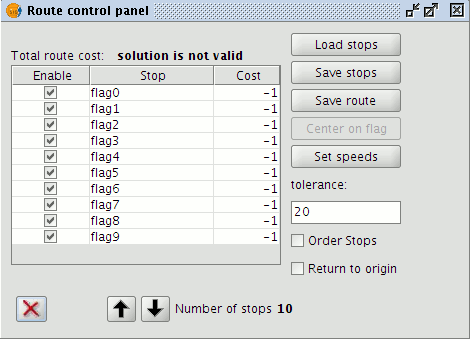
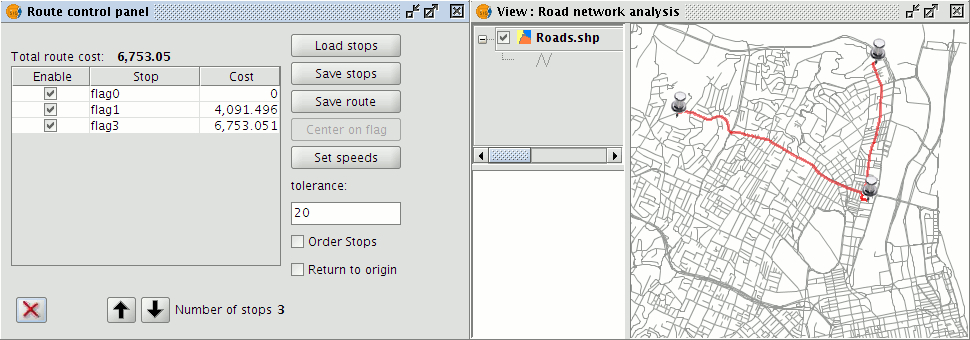
Control Panel showing stops and various control options
Cargar paradas
The network tool allows a shapefile of points to be used as stops when calculating routes.
- Load a shapefile of points into the gvSIG View.
- Select Manage stops from the Network menu.
- Click the Load stops button.
- This brings up a window from which the point layer containing stops can be selected.
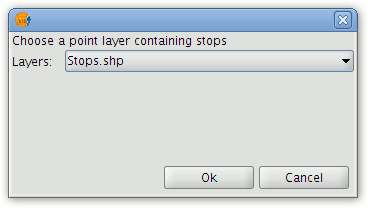
Choosing a layer to import as stops
- In the drop-down list select the point layer to be used. Only point layers loaded into the ToC of the View will be available for selection.
- Click the OK button.
- The points that have been loaded can now be used as stops when calculating routes.
Note
Although the stops can be saved in SHP, DXF or PostGIS format, when loading stops only point layers are accepted (not multigeometry layers).
Salvar paradas
The network tool provides an option for saving the stops along the route in different formats.
- Select Manage stops from the Network menu.
- Click the Save stops button.
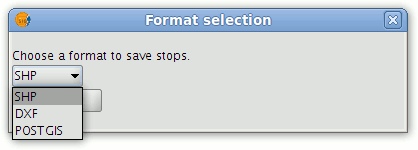
Selecting a format for saving stops
- From the drop-down list choose the file format for saving the stops. The options are: SHP, DXF and PostGIS.
- Click the OK button.
- In the Save window select a location for saving the file to be generated and click the Save button.
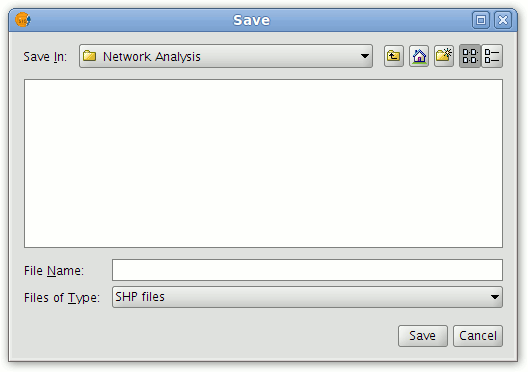
Selecting a directory
- A window appears asking whether to load the new layer into the View. Click the desired option.
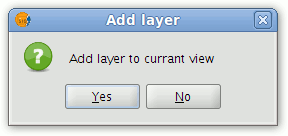
Option for inserting the stops layer into the View
- Once the process is complete, a file of the chosen type containing stops along the route will have been created.
Note: If stops that have been manually created are to be used in future gvSIG sessions they should first be saved using the procedure outlined above.
Salvar ruta
The network tool provides an option for saving previously routes in different file formats.
- Select Manage stops from the Network menu.
- Click the Save route button.
- From the drop-down list choose the file format for saving the calculated route. The options are: SHP, DXF and PostGIS.
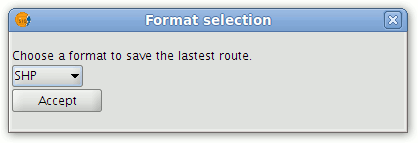
Selecting a format for saving the route
- Click the OK button.
- In the Save window select a location for saving the file to be generated and click the Save button.
- A window appears asking whether to load the new layer into the View. Click the desired option.
- Once the process is complete, a file of the chosen type containing the route will have been created.
Note: It should be borne in mind that if calculated routes are to be used in future gvSIG sessions they should first be saved using the procedure outlined above.
Centrar sobre parada
This tool centres the View on the stop selected in the Route control panel. To use this tool simply select the stop on which to centre the View and click the Centre on flag button.
Fijar velocidades
This tool allows the user to define speeds for the roads in km/hour.
The speeds that are configured affect the values displayed in the Cost field of the Route control panel.
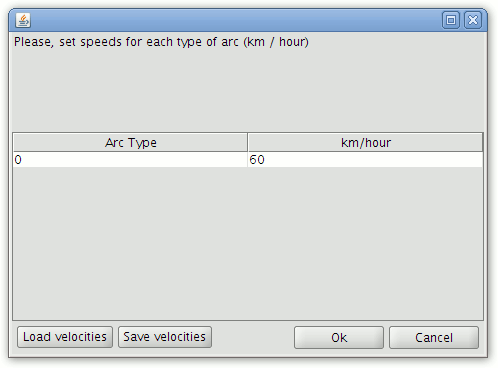
Form for setting the speed for each arc type
To set different speeds for each type of road segment, double click the speed value for the arc type, enter the speed for the arc type and press enter. To exit the window click OK.
Note: If a route has already been calculated, it should be recalculated in order to take the new speeds into account.
Note: The Arc Type values that are displayed come from the type field that was selected when generating the network topology.

Setting the Type field for generating network topology
Note: It should be borne in mind that if the speeds that have been defined are to be used in future gvSIG network sessions they should be saved by clicking the Save velocities button.
Tolerancia
Allows a tolerance to be set when loading stops from file. This is the maximum distance, in map units, between the stops and the network nodes and arcs.
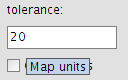
Setting a tolerance value
NOTE: This tolerance value is not used when manually inserting stops on the network. For manual insertions a fixed tolerance of 10 pixels is used.
Ordenar paradas
The Order stops option sorts the stops so as to optimise the total travel time.

Order Stops checkbox
Volver al origen
This option calculates the route back to the point of origin.

Return to origin checkbox
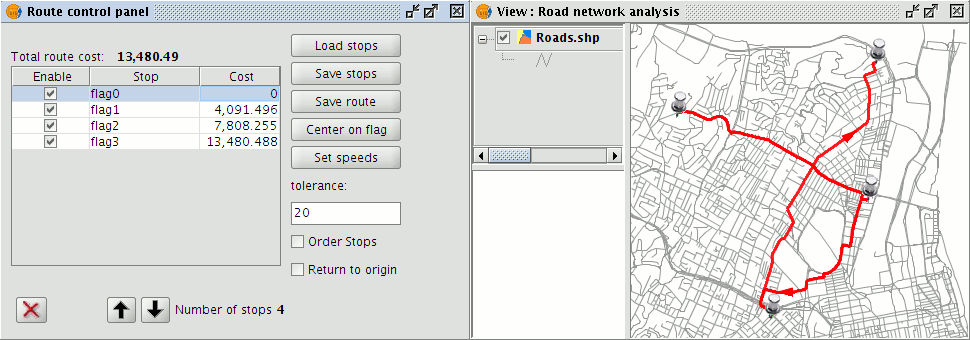
Obtener el coste de ruta
When a route is calculated the aggregate cost is displayed in the Cost column of the Route control panel.
The Route Control Panel showing the Cost field
Note: The cost of the route is updated each time a new route is calculated.
Note: The unit costs are those that were set when generating the network topology. If a cost field was selected, it is usually in seconds. However, if no cost field was specified then the route costs will be determined in the map units (usually metres).
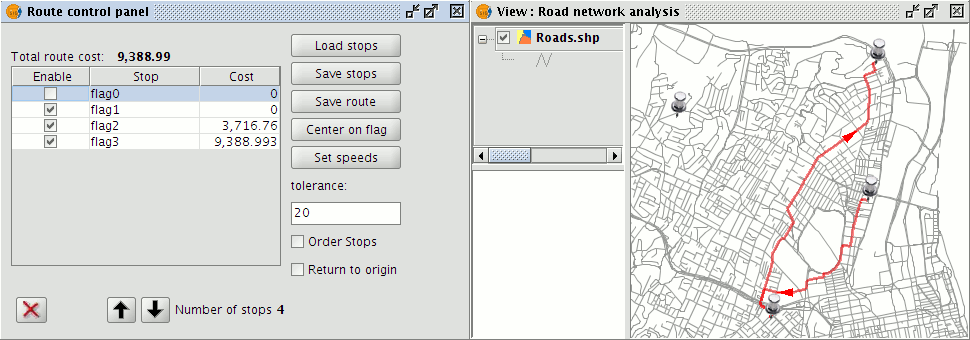
Habilitar y deshabilitar paradas
Stops can be enabled and/or disabled by means of the check boxes in the Enable column of the Route control panel.
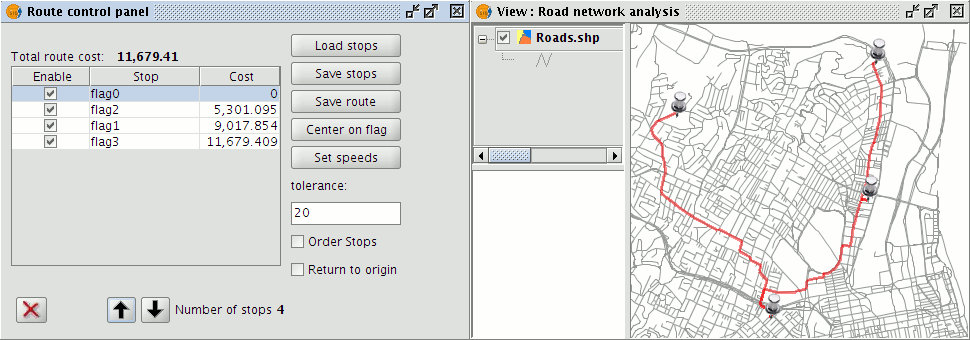
Alterar el orden de las paradas
The arrow keys in the Route control panel are used to change the order of stops. Select a stop from the list of stops and then use the arrows to move it up or down in the list.

Buttons for changing the order of stops
Eliminar una parada de la ruta
To delete a stop select it from the list in the Route control panel and click the delete icon.

Remove stops
Resumen de utilidades del "Gestor de paradas"
To summarise, the Manage stops utilities may be used to change the order of stops on a route, enable or disable stops, or to delete individual stops. Once stops have been inserted into the View, these utilities can be accessed by selecting the Manage stops option from the Network menu. The Routes control panel that appears shows the stops in the order that they have been inserted into the View, whether they are enabled or not, and the aggregate cost of reaching each stop.
Managing stops
To enable/disable a stop click the Enable check box alongside the stop. Stops that are disabled are not considered during route calculation but are still displayed in the View.
Enabling/Disabling stops
The order of stops can also be modified in the Routes control panel. Simply select the stop and move it with the arrows to the desired position.
Setting the order of stops
Finally, stops can be deleted if they are no longer required. To do this simply select the stop to be deleted and click the Remove stop button.
Remove stops
The selected stop will be erased from the View.
Erasing stops
